Sign in to the Webphone for the first time
Set your Webphone password, sign in on the browser or desktop app, and set up two-factor authentication.
This guide takes you from the Webphone invitation email to your first call. It takes about five minutes. You’ll need your phone for the authenticator app.
Before you start
Section titled “Before you start”- Your PBX administrator must have added your email and a Webphone device to your user. If you haven’t received an invitation, ask them to check Set up the Webphone.
- Install an authenticator app on your phone, such as Google Authenticator. Any authenticator app works.
1. Set your password
Section titled “1. Set your password”- Open the email Invitation to the Webphone.
- Click Click here to set a password for your new Webphone account and choose a password. The link is valid for 72 hours.
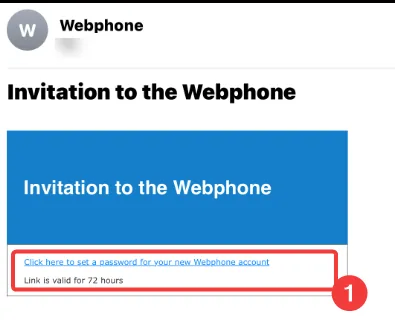
You’re then taken to the Webphone sign-in page. Bookmark it so you can come back.
If the link has expired, click Forgot your password? on the sign-in page, or ask your administrator to reset your password.
2. Sign in
Section titled “2. Sign in”In a browser: enter your email in PBX user object email, enter your Password and click Log in.
In the desktop app: on the sign-in page, click Download at the bottom and choose Windows, macOS or Linux. Install and open the app, then sign in with the same email and password.
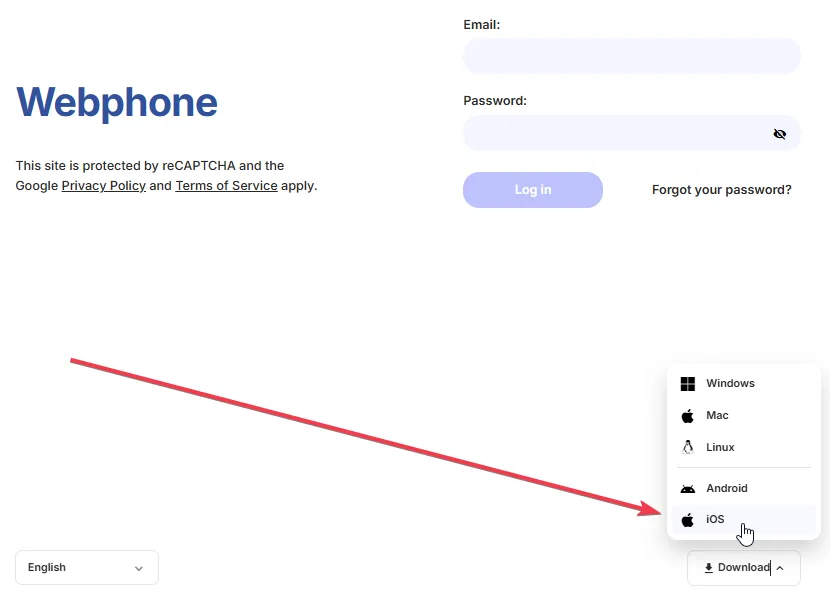
You can only sign in to the versions your administrator gave you. For example, with only a Webphone desktop device, the browser version shows Seems like you’re trying to log in to the wrong place and offers the app downloads instead. To change the language, use the language menu at the bottom of the sign-in page.
3. Set up two-factor authentication
Section titled “3. Set up two-factor authentication”The first time you sign in, the Webphone asks you to set up two-factor authentication (2FA). It’s mandatory, and it stops anyone who learns your password from making calls on your account.
- If you don’t have an authenticator app yet, click iOS or Android to get Google Authenticator.
- In your authenticator app, add a new account (in Google Authenticator, tap +). Scan the QR code on the screen, or type the secret key shown above it.
- Enter the 6-digit code from the app in the box below the QR code and click Enable.
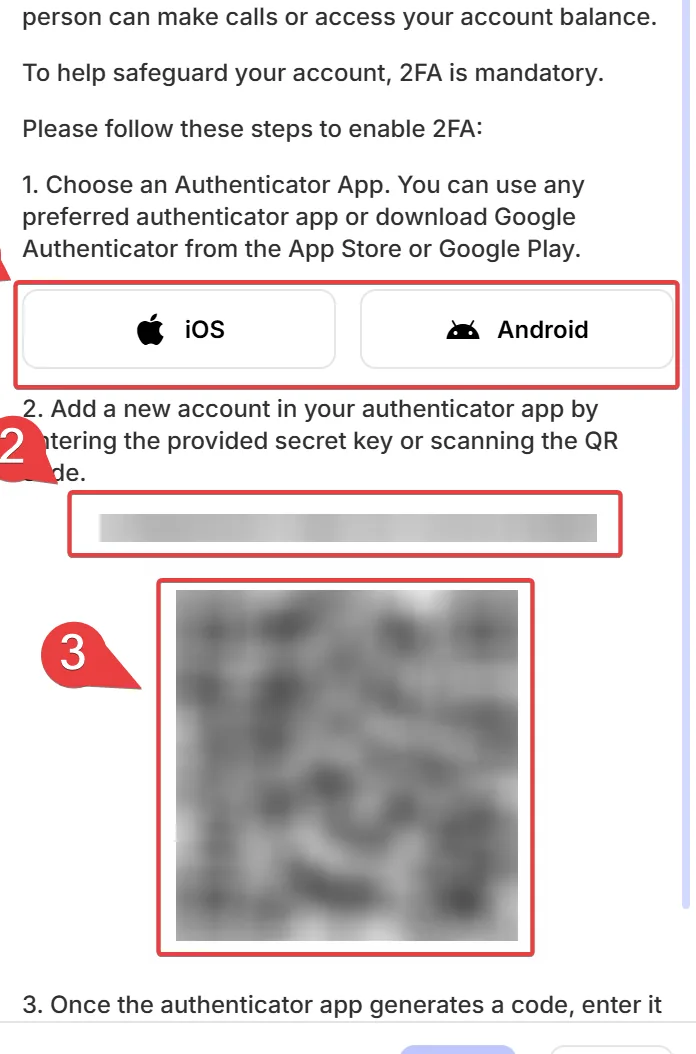
Next time you sign in, enter the current code from your authenticator app and click Log in. In a browser, you can tick Remember this browser for 30 days. If you lose your phone, ask your administrator to reset your Webphone 2FA.
Check it works
Section titled “Check it works”- Allow the Webphone to use your microphone and show notifications when your browser or computer asks.
- Call your mobile from the Dialpad. It should ring and show your caller ID.
- Ask someone to call you. The Webphone should ring and show an incoming call.
If it doesn’t ring, see Webphone notifications and ringtone.